Hello everyone!
Today we are having an special post, where I will finally open up to you about my drawing style and show you a close look into what I have in store and what is always on the works with very few spoilers about the story... with just a few characters.
On this post I am going to be showing step by step my process on drawing characters; before we begin let me just say that I am not going to depict a WHOLE class of art or anything... I am just taking my liberty to show my style of drawing, share it with you and maybe just pass on some of my knowledge to you if you are either interested in drawing yourself or if you are interested in knowing how I do it:
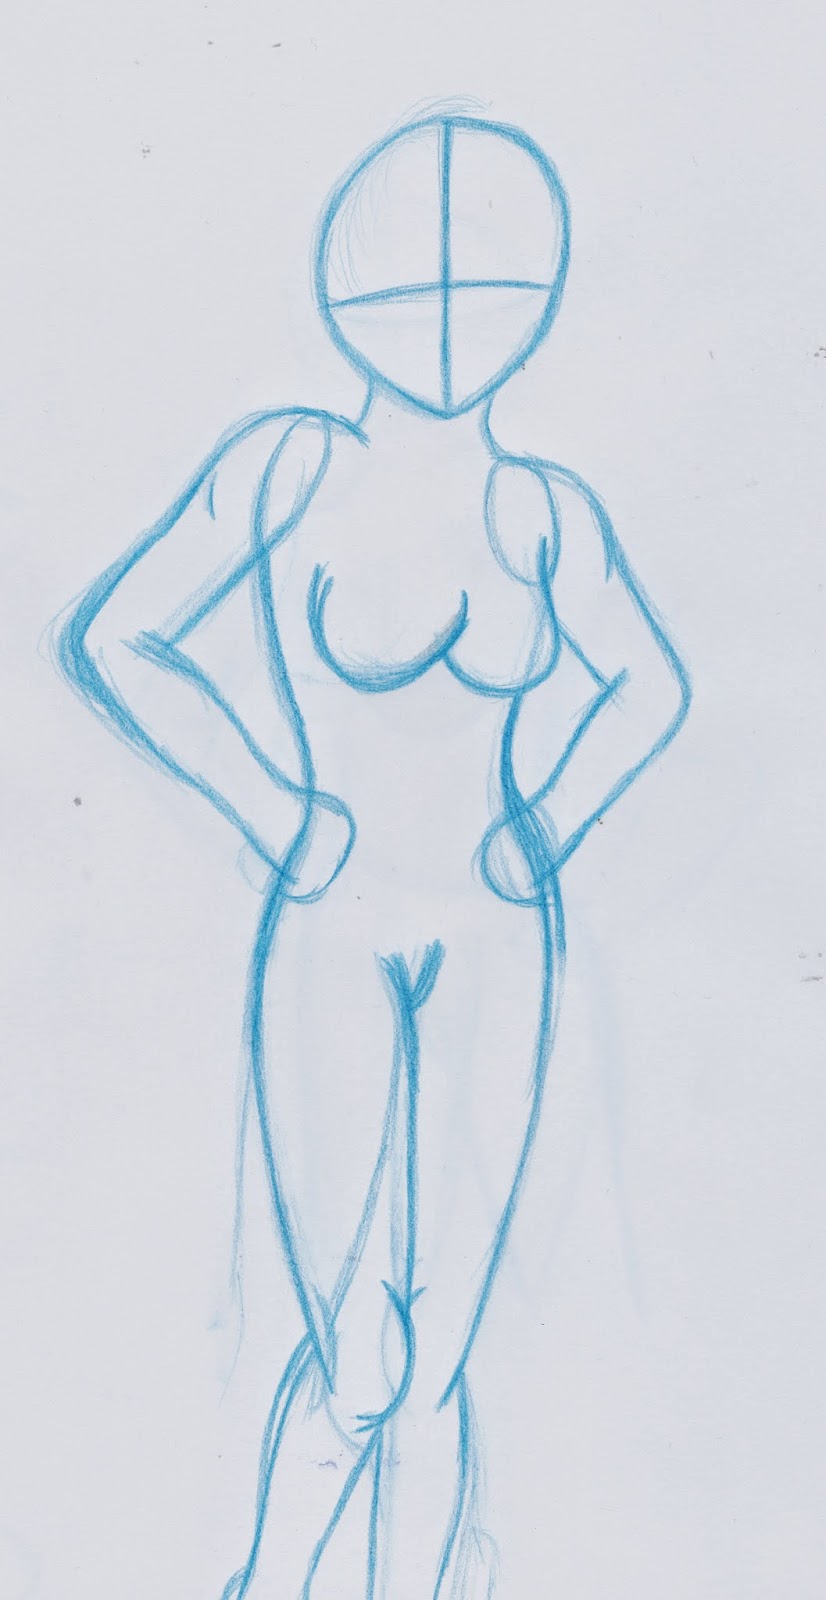
The very first thing I draw is a quick sketch of the character´s position, for example the picture on the left, I don´t waste time with details like fingers or even eyes or hair. Many may be familiar with this, this is called "Blocking" is basically that I draw the characters skeleton before going with the details...
Of course there is no point in drawing a character if there is no real cool pose, I looked for the most cool looking reference I can find that somewhat matches what I want to have; this isn't always the case however, I sometimes just quickly place the pose I picture in my head into the paper in extreme rough (like the example I am using) and extremely fast before the idea fades (and that happens more often than you think, specially if one gets distracted) I don´t tend to see it has often while drawing has much has I just look at it for long enough to know what I want, I start making a quick sketch, take quick looks to the reference (if I have one) then I go back to keep drawing the sketch.
Last, I draw the lines of the head to know where my character is going to be facing, is a simple reference that helps me be clear if I stop working for a while and then I come back, has well has being a guideline for the eye levels and other facial features.
In some cases I draw the head lines first, but I tend not to because sometimes I might want to have the character looking in another direction or in another way (maybe having the head slightly tilted to the side or etc), has a personal reference when I draw the head I always have the character´s head locked by the chin; I paint the chin by using a slight triangular position downwards, for me, is easy to pick and know where is the head looking and when the sketch is done, I can just ignore it if I feel that the new head position works better.
In some cases I draw the head lines first, but I tend not to because sometimes I might want to have the character looking in another direction or in another way (maybe having the head slightly tilted to the side or etc), has a personal reference when I draw the head I always have the character´s head locked by the chin; I paint the chin by using a slight triangular position downwards, for me, is easy to pick and know where is the head looking and when the sketch is done, I can just ignore it if I feel that the new head position works better.
2.
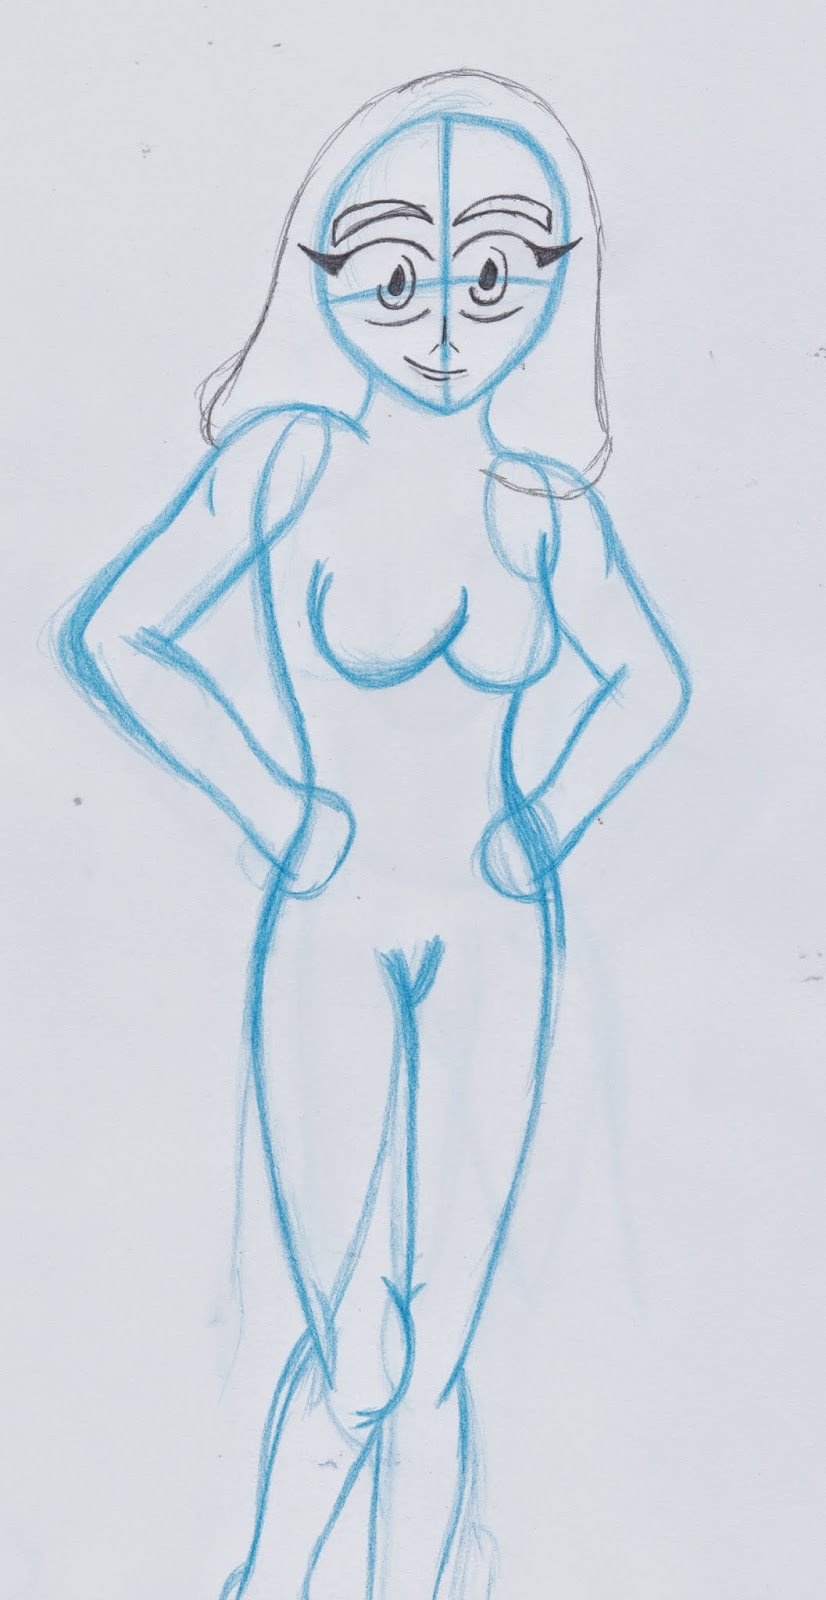
Starting to give shape to the characters is never easy to do (at least to me), is when I get the felling that my idea is not really picturing in paper, but I have learned in time that is better to just let your brain work out it´s image before jumping to conclusions; my first step is the face, this is a very delicate one to preform because we all care a lot about getting the face of the characters right first, starting with the eyes.
I do the basic face with simple lines, by that I mean one singular line and not remarking them has is a costumed, it is after I get the basics out that I draw the full eye, same with the rest of the face, I don't over-exagerate the faces has you can see, is something I watched during animation classes: basically the simplest designs are easier to work with, I do go into further detail after I see that there can be more to be added.

After I complete drawing the face I finish the complete head, starting by the inner parts of the head and then providing to the outers, example: I first did the eyes before the hair in front, same with the hood... The idea is to avoid has much clash between element has possible to focus on the one element before advancing, if I did the hair first, I would have problems making the character's eyes later because they would be clashing heavily.
The body is the next part to do, the torso is the first thing I fallow with after the head (sometimes i can start with the extremities, like the arms or legs depending on the position of the characters), I don´t fallow the blue lines of the blocking, I draw the visible sides of the torso and indeed draw the whole body part. Same applies to the extremities, I fallow the lines and place the body part into it´s place...
In general overview, I finish the face (eyes, nose, etc), proceed to the torso, use the shoulders has connection to do the arms, go down to the hip and use it to connect the legs... same with the feet; even if in the sample I am using I didn't draw them.
3.In general overview, I finish the face (eyes, nose, etc), proceed to the torso, use the shoulders has connection to do the arms, go down to the hip and use it to connect the legs... same with the feet; even if in the sample I am using I didn't draw them.

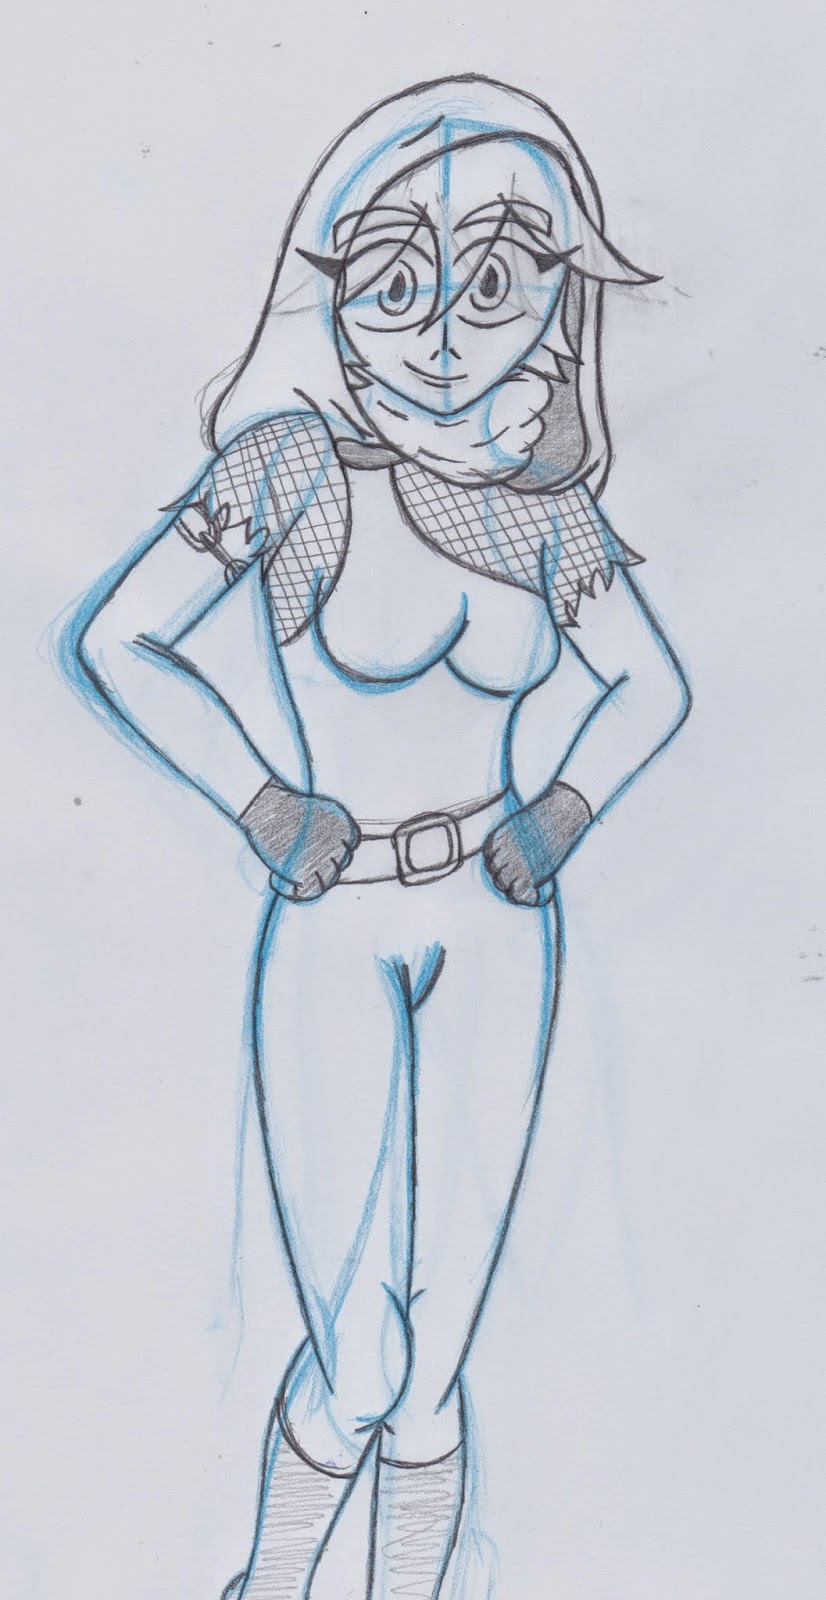
After the basic draw is placed with graphite I can see the overall complete picture, but it´s not really "done" where the draw is clearly distinguishable from the blocking lines there is one more thing left and that is the lines being notable. I proceed to remark the lines with a "Uni-ball Eye micro":
I take this part very slowly because basically one simple screw-up can mean a whole sheet of work wasted (SPECIALLY if talking about the comic pages).
I take this part very slowly because basically one simple screw-up can mean a whole sheet of work wasted (SPECIALLY if talking about the comic pages).
I start by remarking the face (the eyes first to be more specific), much like if I was drawing the character from scratch, just a single and unique trace of the pencil is more than enough to remark the line and make it much more clear to the eyes and easy to depict the image. I sometimes pass the pen twice if only I feel like the line needs to be remarked or it´s not very clear; the reason why I try to avoid it is because it can damage the paper.

This helps immensely to the overall look on the draw, not only do I feel it helps remark the character, but it also helps with the post-work that comes after, the photo-shop process witch is another topic and slightly more complicated.
In time , people develop their own character models, styles and even perspectives... my way of doing things is not the ultimate way, neither is it the most innovative nor am I trying to convince people of anything here; truth of the matter is that my style is something that like many other people who do this same sort of thing, I have evolve my own style and found new ways to improve my style by experimentation and by advice from other experts of the matter
I am sure that if you practice long enough everyday, you can create and become a master of your own style!
-Practice makes perfect-
--------------------------------------------------------------------------------------------------------------------------
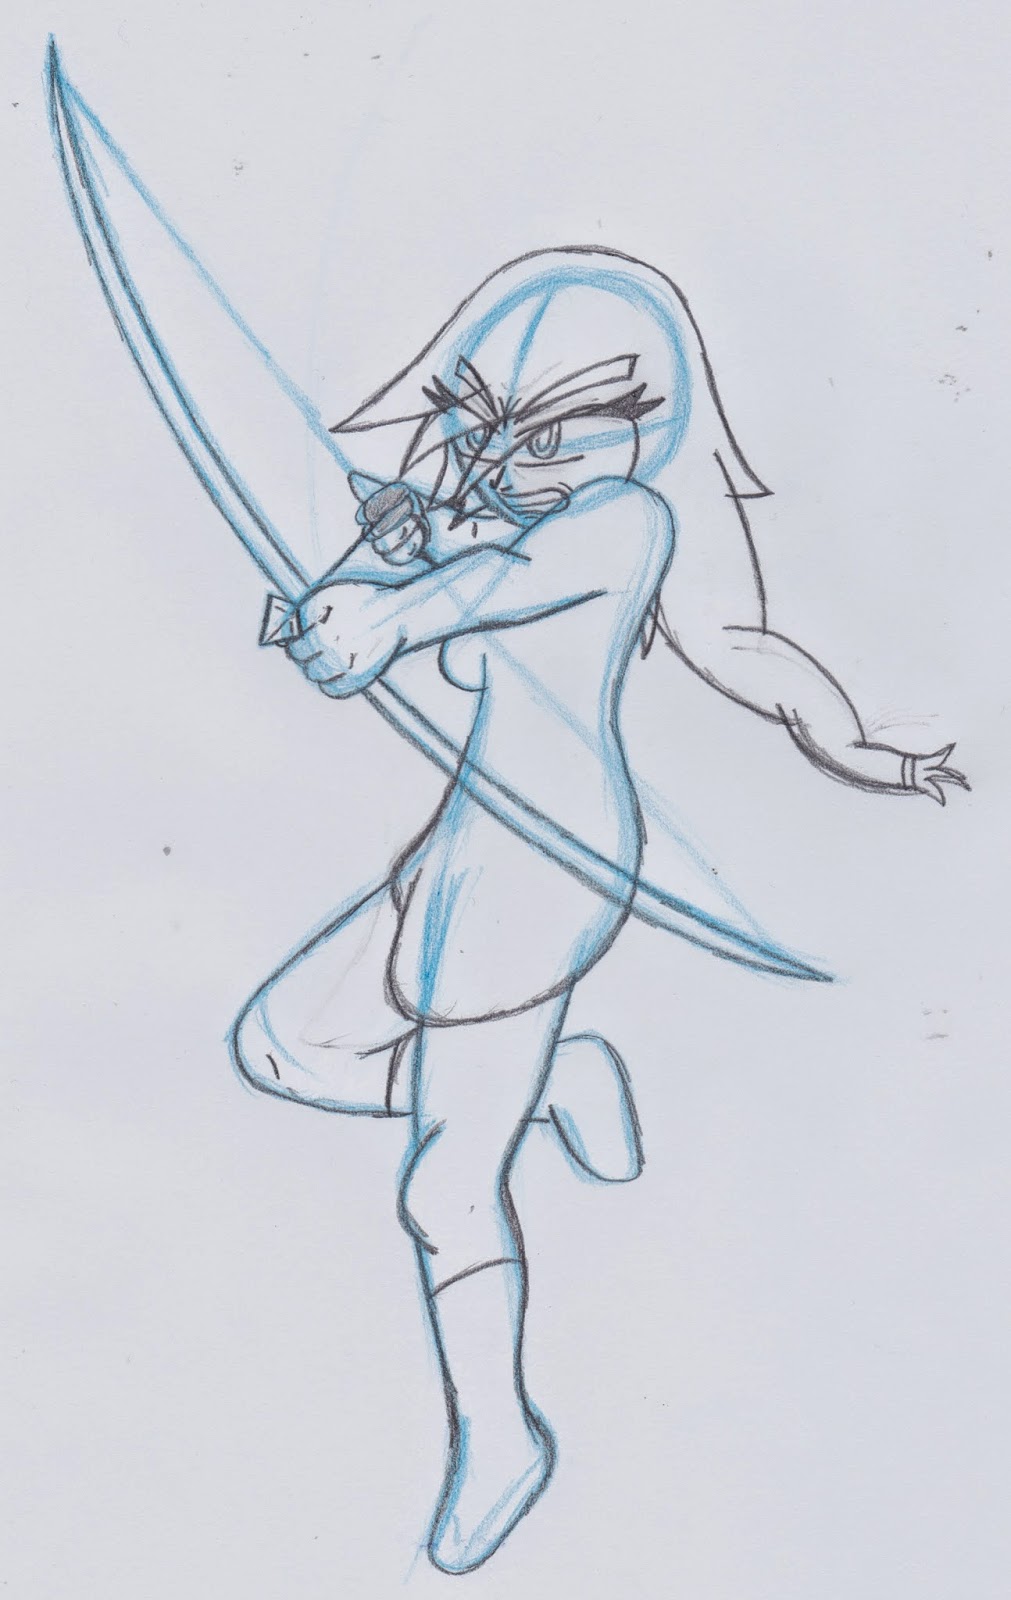
Here are other examples of the same process:


--------------------------------------------------------------------------------------------------------------------------
Well, that´s it for this post!
I will try to make another post has soon has possible related to the comic´s pages is rough and the placement process, has well has the process of drawing in photo-shop...Thank you again for reading and stay tuned for more updates!
PS: I will work on more movie and game reviews soon
No comments:
Post a Comment